Part 75

Let's finish up some side quests!


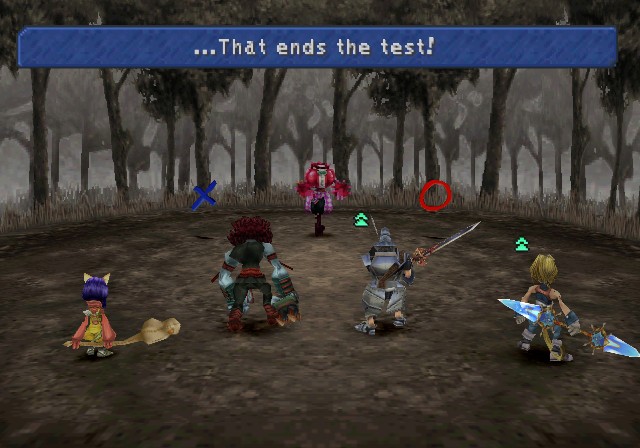
First, Ragtime Mouse.

Obviously false. They're dwarves.

False. It's simply "First sight", no love anywhere.

False. There's definitely at least one on the Outer Continent, may be one on the Forgotten Continent as well but I can't remember offhand.
And this last question is always the final one.

Actually true.
Anyway, after we answer this last question, we have to find him again...


By getting all questions correct, we get bonuses.

EXP, a nice chunk of gil, and a Protect Ring. Not too shabby!

Next up, Mognet. For this one, we have to return to Ipsen's Castle. Despite there being no other reason to return here, the graphic designers bothered adding a Mist-covered version of the outside. That's dedication to detail!


 That item...? Oh!
Mois is right outside Fossil Roo.

 They gotta tell me more than 'that item'! Kupo!!!
Next is Noggy, who's over at Daguerreo.

 That thing... Oh, I know! Kupo! Kupo!
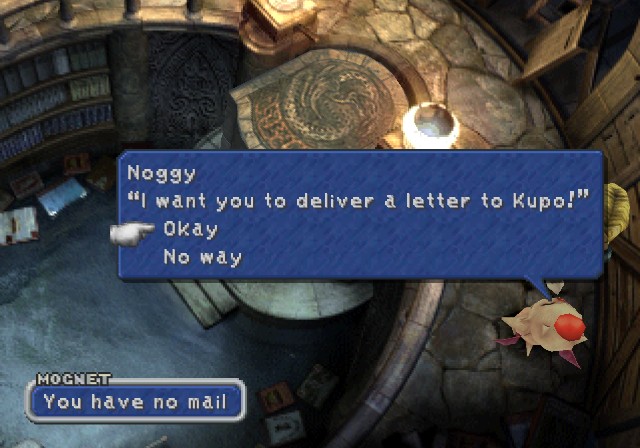
And now we go back where we started, over to Kupo in Alexandria.


If you return here with Vivi or Eiko, they can play jump rope again. Hooray.

 Ah, 'Superslick'! Kupo! But I don't know who has any...
Well, it's someone in Alexandria, so it shouldn't take too long to find, right?
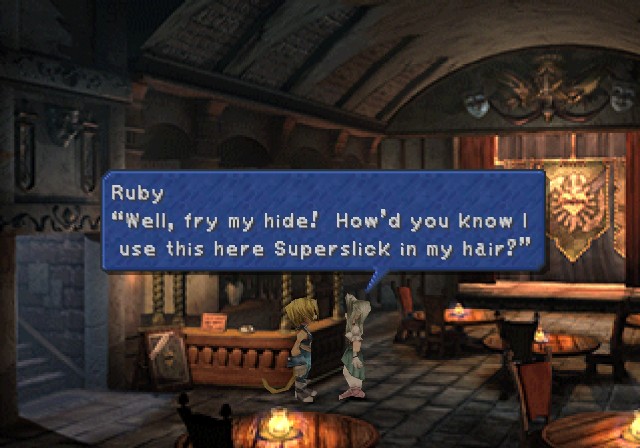
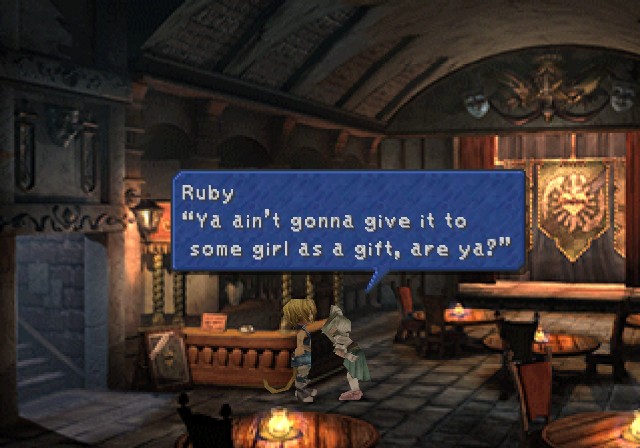
 You want to try some? How come you be a-needin' it? You wanna be beautiful like me? Yer pullin' my leg, aren'tcha? No? Well, I'll get my folks to send some more. You can have this one.
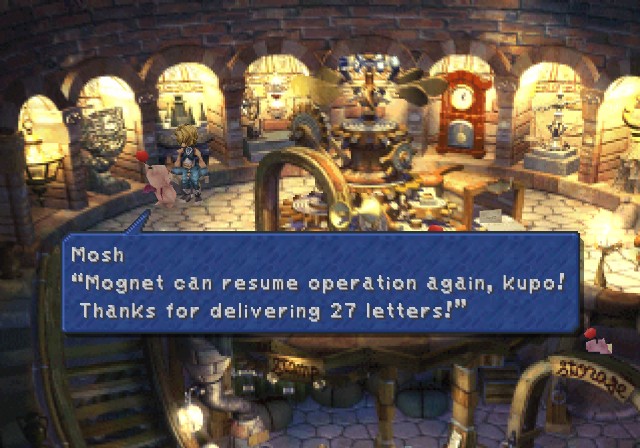
Now all we have to do is deliver it to Mognet Central and we're finished playing mailman.

Moogles are obsessed with their fur, it seems.


It'd be kind of a waste to keep it, so sure.


And with that, the machine works again.


Another Protect Ring! We're swimming with the damn things now.
 I was happy because my coat became so soft, but I took everyone's fun away... I'm sorry.
At least we no longer have to deliver letters.
I slacked a bit.

Another side quest done!

Next up, we've finished finding all the hidden treasures with Choco. It's time to let him live with his kind.


This is pretty much what all the Chocobos say.

Except this one.

 Kweh.
Kweh.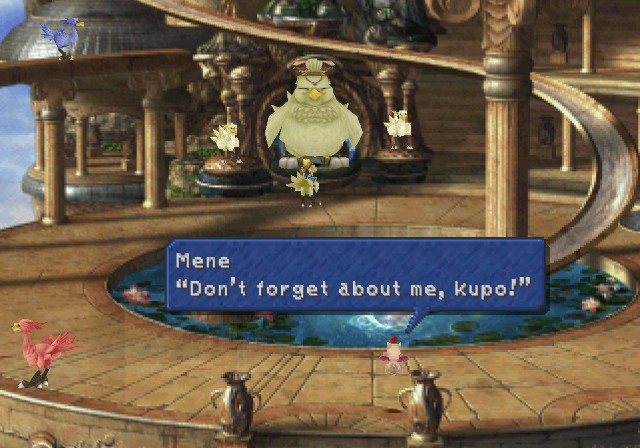 How could you forget about me, kupo!? I'm gonna live here, too!
 ...It's you again, eh? Like I said before, only chocobos can live here. I'm sorry. But Choco needs me, kupo. There are no exceptions. I apologize, small one. Kupo!!!
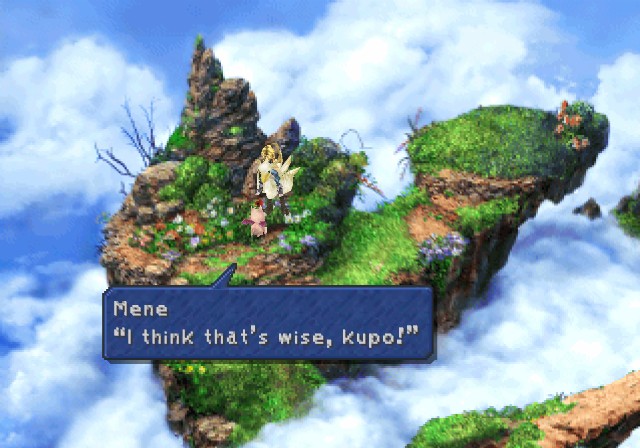
 Forget about it, Mene. This world is only for chocobos. Let's go home. You can come visit. It's not like you'll never see Choco again.
 You led Choco here, but now that he is here, you can no longer enter.
 But I'll give you something in exchange.
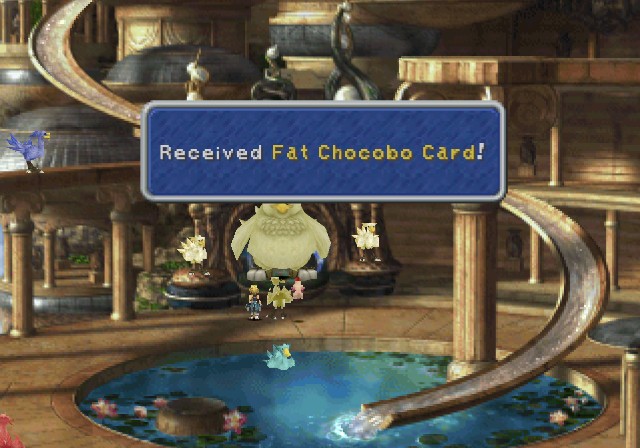
Oh, boy! A card with your face on it! That makes up for losing your best friend!
 K-Kweh! ...Kupo. Are you sure, Choco? ...Kweh. Kupo... I understand.
 Take care, Choco. Kweh.
-----

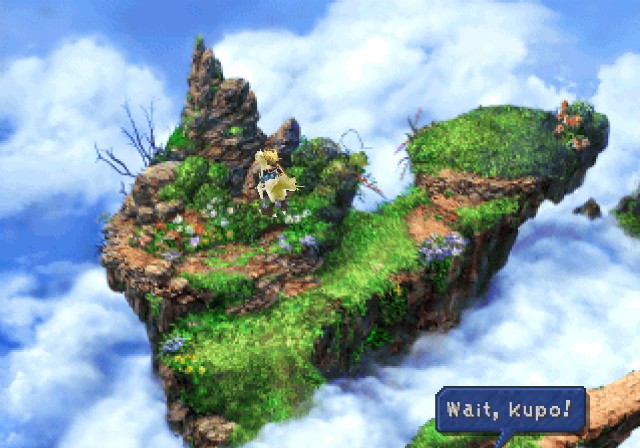
 Aren't we flying...? Wait! You can't fly, Zidane! ...I'm not that heavy. You can carry me, Mene! Hmmm. I never expected to run into a problem like this, kupo!
 Try hanging onto my feet, kupo.
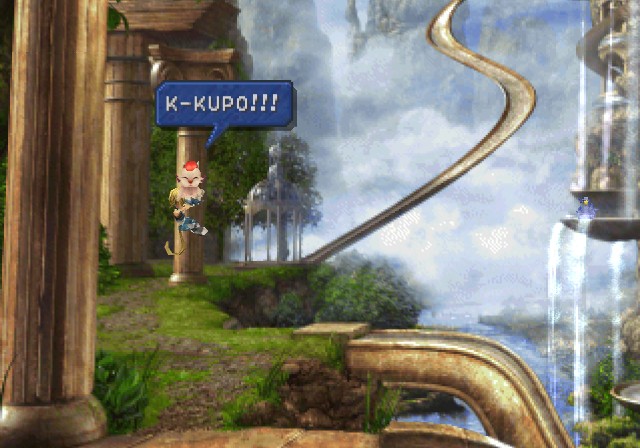 Whoa!
Whoa! Hey!
Hey! This is not good.
 Hey... Listen, Mene.
 This is Chocobo's Paradise, kupo. It's probably some other chocobo.
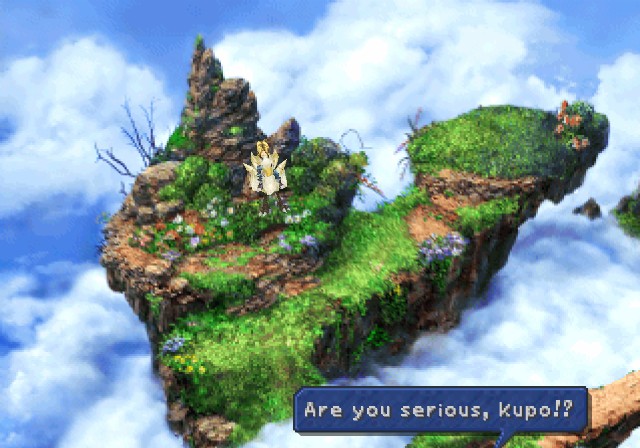
 Kupo! I knew you'd come back! See? Choco needs me, kupo.
 Kweh. Let's go back to the forest, kupo! Kweh. Well, I can finally go home now.
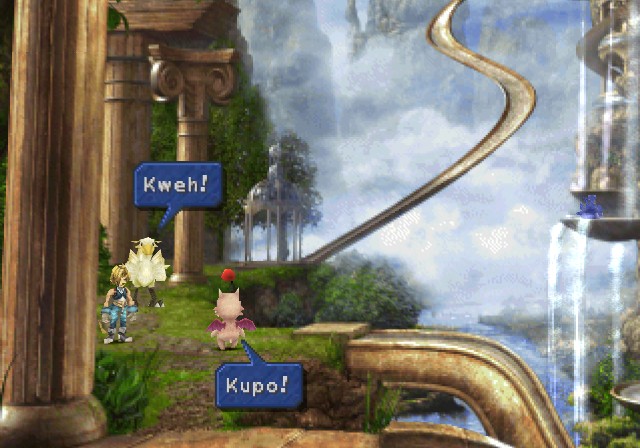
Another happy ending.
There's one last side quest we can do with Choco.

Now all the chocobos wonder why Choco isn't living in paradise after all.
 You may take them back, if you wish.
Any rare cards discarded due to the player being at the 100-card limit are stored with Fat Chocobo for retrieval later.
To access the next side quest, you have to challenge Fat Chocobo to cards. You don't have to actually play him, though.
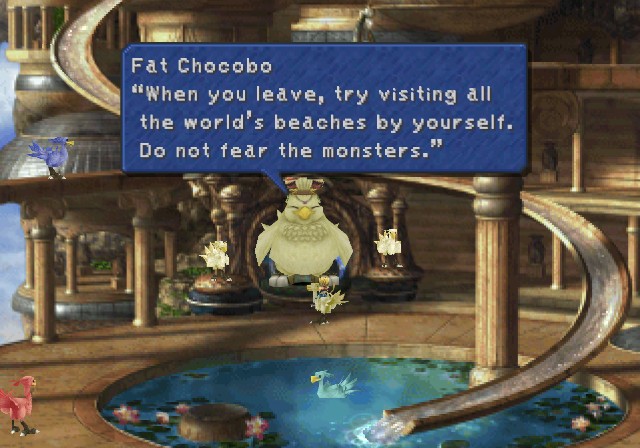 I'll grant you peace and restore you once you've visited them all.
Basically we go to each beach in the world, mark it with a button, and continue until we get them all. There's twenty-one beaches total, six of which are off on islands, the rest surrounding the Mist/Outer/Lost Continents (since Forgotten has no beaches).

Once you get all of them, you can now fully heal for free every time you're on a beach. It's...pretty useless since there's no reason to bother with the world map anymore, but oh well!

Next up, let's check in on Lindblum. Like Alexandria, most dialogue is the same as Disc 3, but there's a few things different.

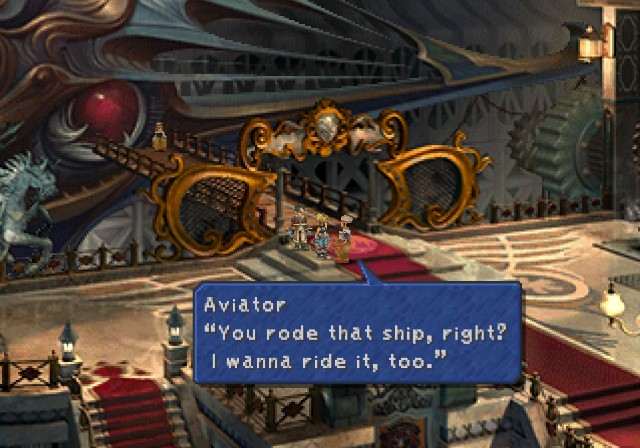

We get this now that we've finished Mognet.

 Some people don't like it, but I'm glad, because my series on the Mist wasn't done yet!
 Where's Cinna and Marcus? Let's go look! Yeah.
This incidentally sets off a rather interesting and annoying side quest. Ugh...

 Be sure to take some of my pickles with you!


 Hmm? That's what I thought. I ordered some more for you.
 Wow, you're sharper than I thought. What do you mean by that!?
And that's it. Though when I entered the Invincible, I triggered a conversation with Amarant.
 What the... What are you talking about?
 You said you were going to Terra because you wanted to find the truth. Yeah, but don't forget we move forward to discover new things about the world and about ourselves. ......
Business as usual.

We also get this neat view of the Invincible bridge from inside Lindblum's hangar.

Alright. Time for the main event. I've been bringing it up for a long time, but now we're finally going to fight the game's superboss. It's located in Chocobo's Air Garden, and in fact we've had access to it since we could first access the Air Garden.

 Is it bad? I've never felt anything like it, kupo! It's not of this world, but not like a ghost, either... It feels...otherworldly, kupo.
If we leave it alone...
So let's check it again.

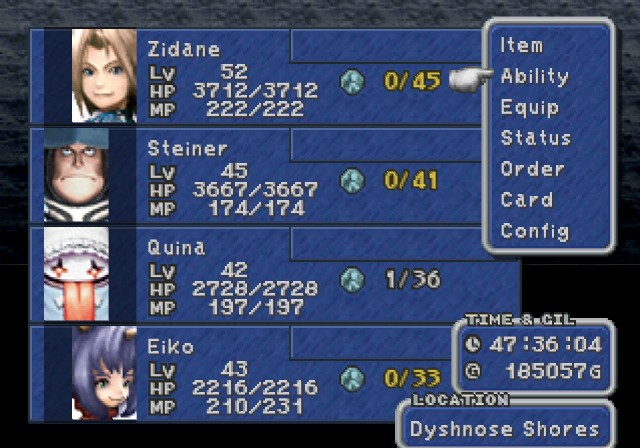
The game gives you the opportunity to switch your party and gear up. I'd say we're ready...


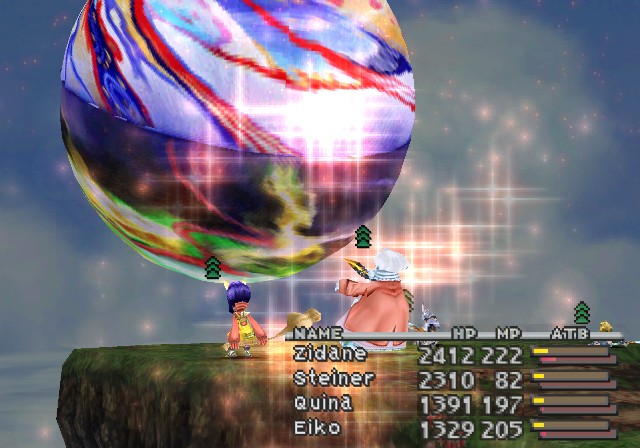
This is the game's superboss.
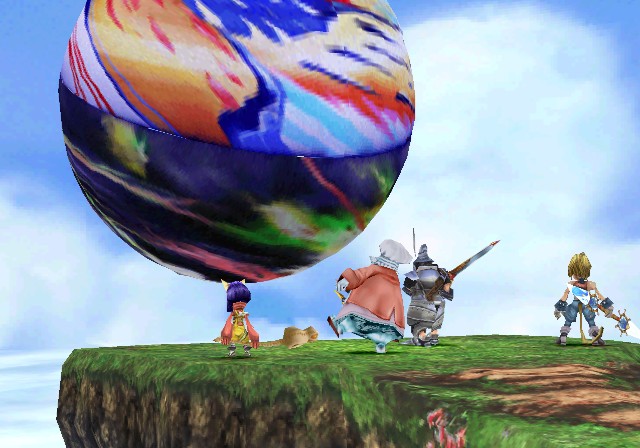
It's a giant ball, and it's pretty damn scary. This ball goes by Ozma.
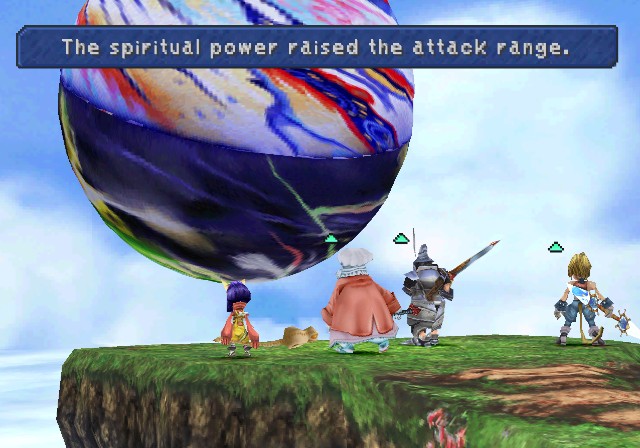
Completing the friendly monsters quest makes this boss easier. First, it brings Ozma close enough so physical attacks can hit it. Otherwise, characters would need Long Reach or rackets. The other key is it transforms Ozma's Shadow-element absorption into a weakness, which is key for one of its attacks.

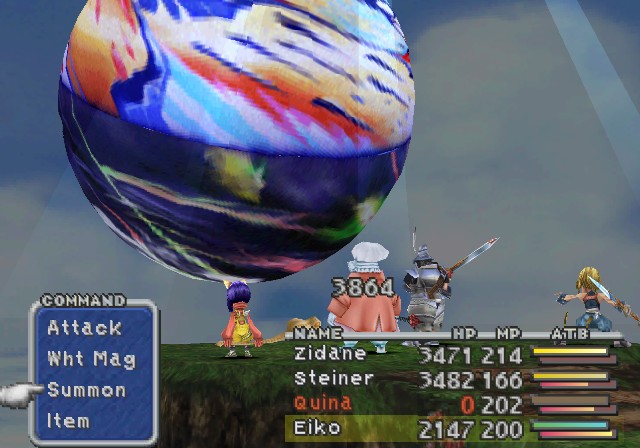
Ozma, as you may expect, is very powerful, but the entire battle is bizarre. First off, Ozma has a completely fucked ATB. If Ozma is not currently acting when you give a command, Ozma cheats and immediately goes before that character. Thus you'll want to enter commands while Ozma is doing one of its many actions. This makes handling it tricky.


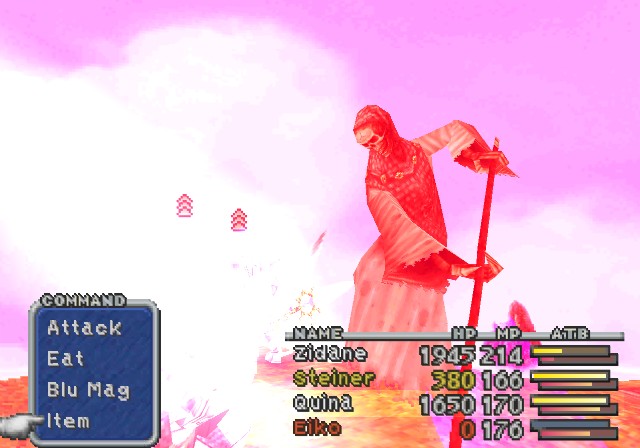
Ozma has a huge variety of attacks, but one of its scariest is Curse. It does heavy physical damage and inflicts a variety of status effects. You can block most of them (Darkness, Confuse, Poison, and Slow through Auto-Haste), but Mini will nerf your offenses significantly. It can also cast Mini on its own, as well as Berserk.


Doomsday is a powerful Shadow-elemental spell that deals heavy damage to everyone.

That's why doing the Friendly Monsters quest is recommended (as otherwise this would heal Ozma), and also why every character should at least be immune to Shadow damage (though if everyone can absorb Shadow then Ozma won't use it). Pumice Pieces absorb Shadow and Holy, so definitely equip both if you have them.

It can also cast Curaga on itself and Esuna to heal from its status effects. It's only vulnerable to Slow and Darkness, but the latter is nice to get it to waste turns on Esuna (especially since Zidane can inflict it with 100% accuracy with Soul Blade).
There's also Death. It'll use L5 Death if at least one character is a level multiple of 5, and L4 Holy is at least one character is a level multiple of 4.

Its steals are amazing, but good luck surviving long enough to get them all! It holds an Elixir, Robe of Lords, Dark Matter, and Pumice Piece.

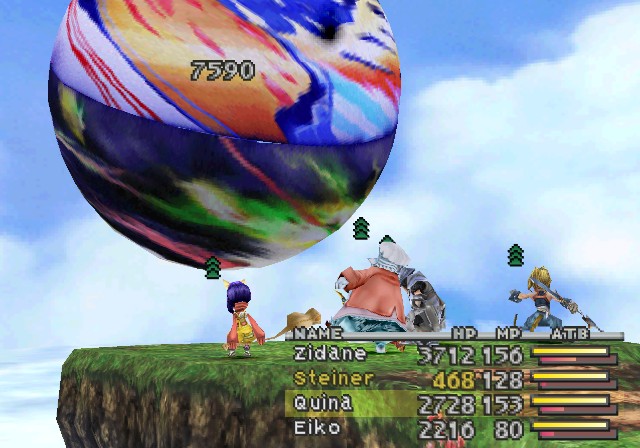
Its HP is surprisingly low, only 55k. Six 9999 hits will do it. The problem is there's a lot of luck in simply surviving its attacks. Curse will ruin your day, and it has a Meteor attack that will randomly wipe you, and that's above keeping up with its brutal offense and how it cheats the ATE.
I actually grind a bit to get L5 Death and L4 Holy to trigger. Quina can heal from L4 Holy, and Steiner is the L5 Death target since he's most expendable.
Zidane will Steal until I get the Pumice Piece (Robe of Lords would be nice but I can get more later and I don't want to waste time against Ozma if I can help it), then spamming Thievery for 7.5k damage (hell yeah). Steiner gets the Excalibur (since it deals Holy damage, which Ozma is weak to) and spams Shock. Quina is utility, essentially spamming Auto-Life, or Angel's Snack to heal Mini if needed. Eiko's doing full-on Curaga duty since Ozma's onslaught is too intense to waste turns on Holy.


It also has Kuja's Flare Star, though Ozma's does 50 * Character's Level.


Meteor is random and can ruin your day.

Fortunately, Phoenix's Rebirth Flame happens to trigger here.

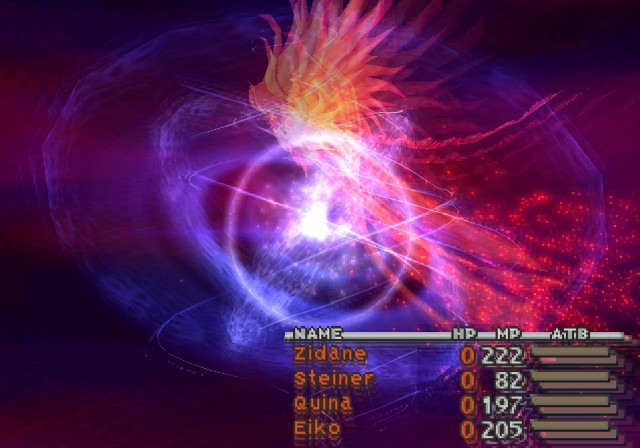
This has a (# of Phoenix Pinions/256) chance of reviving your entire party from a wipe if Eiko is in the party.

Of course Ozma immediately uses Curse and kills me again.
It takes a few tries, but eventually I get what I want and finish it off.


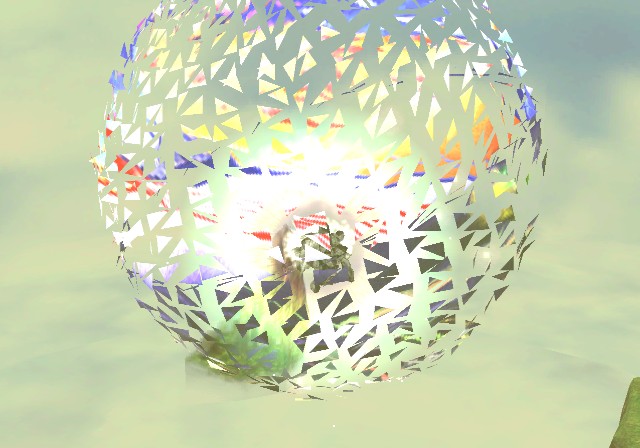

Spectacular death animation.
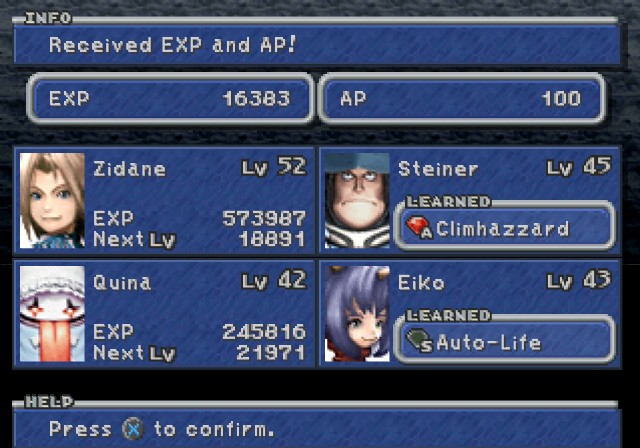
The rewards are great. 100AP is huge, and with Double AP is enough to instantly learn damn near any ability in the game.

More importantly is the Pumice. This teaches Dagger Ark, her final summon. Ark, which you may remember at the airship boss from Oeilvert, is a Shadow-elemental summon that deals more damage the more Lapis Lazuli you have. It also has a ludicrously long summon animation.
 I recorded how I feel right now on card, kupo! I'll give you secret info, too!
 One more bonus, kupo!
We get an Ozma card, a free heal, and the Strategy Guide.

To get the highest rank of card master, every single card must have a different arrow configuration.
Your reward for doing that is the game freezing on you because it cannot handle someone being so insane.

Our last trip isn't really a side quest, but there's a good bit of backstory we can pick up now.


If we come here without Dagger or Amarant, Lani won't flee and we can talk to her.

 I tried getting back to the Mist Continent, but Fossil Roo was blocked, and the Alexandrian Fleet was destroyed before my eyes. I became so weak after wandering around for days. Then the moogles here rescued me.
 It's so wonderful living with moogles. I haven't thought about money once since I've been here. I'm glad I lost our last fight.
Lani did some soul-searching since we've last seen her. Good for her!
 Maybe it's because of the seawater...
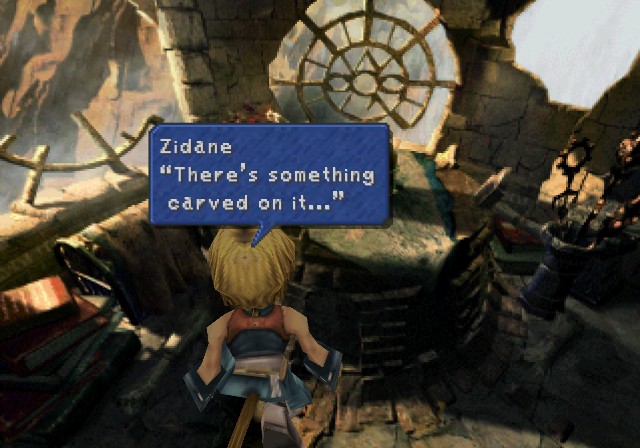
 Movement of time...? If it's talking about a clock, forward is clockwise, and backward is counterclockwise.

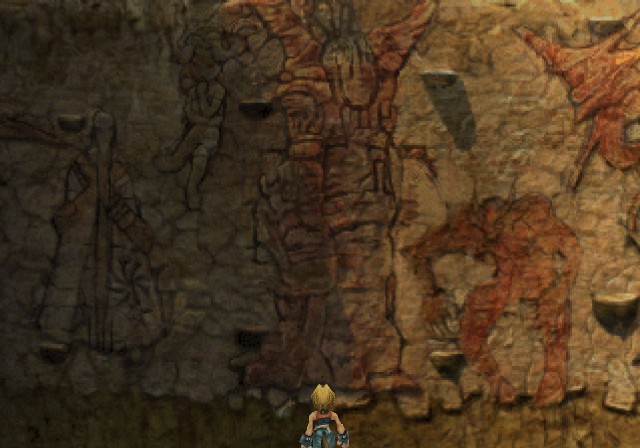
If you go to the Eidolon Wall during Disc 4, you get this perspective.


The trick is to go clockwise (right) until you reach the entrance again, then go counterclockwise (left), and back and forth nine times.

Once you do this, you heal up, but also unlock descriptions for all the eidolons here (which are ten of the twelve eidolons Eiko and Dagger get, excluding Madeen and Ark, as well as Alexander).
For this section, I'll type out what's mentioned in quotes so you can see each eidolon.

quote:
Fear not the power of summon magic, but the ones who use it.
Greed and instability endlessly repeat old mistakes.
Will omniscience set us free?
Madain Sari was formed from people fleeing from Alexandria after a mishap there 500 years ago. More details in a bit on that.

quote:
This is where the fault lines collide.
Listen to the planet's heartbeat.
Breathe slowly, and calm your mind. Let memories return to you.
Memories shape time.
Time overlaps.
The overlap becomes our memory.
Memories construct time.
History repeats itself.
We must stand in its flow and understand the world.
Such is the goal of our tribe.
Madain Sari's location was chosen because it was the best place to hear the heartbeat of the planet. This let them more easily harnass the power of summoning.

quote:
The Legend of Eidolons
We discovered eidolons by researching legends documented from around the world.
The Thunder God, Ramuh, is one of those legends.
Some theorize that the eidolons were created from the legends, and not the other way around.
FF14 took this tidbit and ran with it to describe their primals (summon monsters created by people believing in them really hard), which leads to shit like giant moogle kings.

quote:
The First Eidolon Discovered, Shiva
Shiva took the form of a young girl when she was first discovered. She now appears as a grown woman.
Eidolons adapt their forms to the time and culture in which they appear. Shiva illustrates this theory.
In certain areas, Shiva is depicted as a snow fairy. This cannot be verified, since the only written document that remains is in the summoner village.
People associate Shiva with the snow fairy.
Why she changes forms remains a mysery.
This may be an explanation as to how Madeen took the appearance of Mog.
quote:
When the arrogant one summoned a power that could not be controlled, holy judgment was passed.
The jewel of this village must serve as a reminder of the day we had to leave our country.
500 years ago, summoners used a crystal to summon Alexander, who wrecked shit immensely. The crystal was split into four pieces (the four royal jewels we currently possess). That attack was why the founders of Madain Sari left Alexandria, taking a piece of the crystal with them.

quote:
We repeated the mistake our ancestors made 500 years ago.
We failed an attempted summon at the foot of the Iifa Tree. The area surrounding the tree was unaffected, but we sealed the area as they would have done 500 years ago.
Shortly before the destruction of Madain Sari, the tribe members failed to summon Leviathan. Rather than create further risk, they used Carbuncle to seal Leviathan at the foot of the Iifa Tree, where it remained until Dagger unsealed it.

quote:
Eiko, my lovely child.
Until you turn 16 and have your own eidolon to your control, stay in this village.
Then build strong friendships with others.
I wish for your happiness from far away.
The age of 16 is important for summoners. Remember that Zorn and Thorn said eidolons could not be properly extracted from a person until the age of 16.

quote:
Eiko,
You are a treasure born to a dying village.
We are dying, and there is little we can do for you.
We shall return to the stars with one wish in mind.
If legends are not born of eidolons, and eidolons but born out of legends, let us leave this place with one wish:
If we can give birth to a legend, it shall create an eidolon that is friend and protector of humans.
Thus the origin of Mog/Madeen.

quote:
This information is yet to be confirmed, but there was an eyewitness account of a previously-undiscovered eidolon.
It was witnessed in Esto Gaza.
If there is an eidolon that can exist outside of our legends, our theory would no longer hold true.
But maybe there are other tribes that have legends of their own.
There was talk awhile back about why Kuja would travel to Mount Gulug and why there was a summoning circle there. This strongly implies that the Mole People that lived there were summoners as well and may have summoned a great beast, and Kuja went there to try to obtain that eidolon to defeat Garland, at least before opting to go the Trance route. This doesn't explain why Hilda's lounging around in sweet digs hours after Kuja unlocks access to the volcano, though.

After reading everything, there's a hidden piece of information we can find by examining Ifrit again.
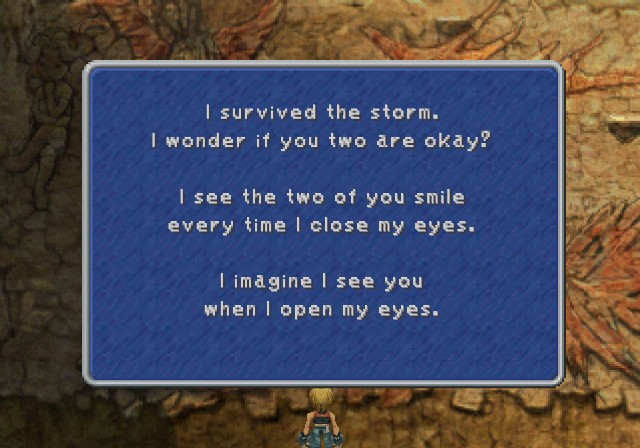


This is heavily implied to be Dagger's father, meaning Dagger's mother is Jane and her real name is Sarah. These are callbacks right to the first game, with Princess Sarah and Queen Jane. Thus the origin of Mrs. Queen Sarah "Princess Garnet 'Captain Dagger' Til Alexandros XVII" Tribal.
That's it for side quests, lore, and all that! Next time, we go to the Iifa Tree and proceed to the final dungeon!